Saturday, 26 May 2012

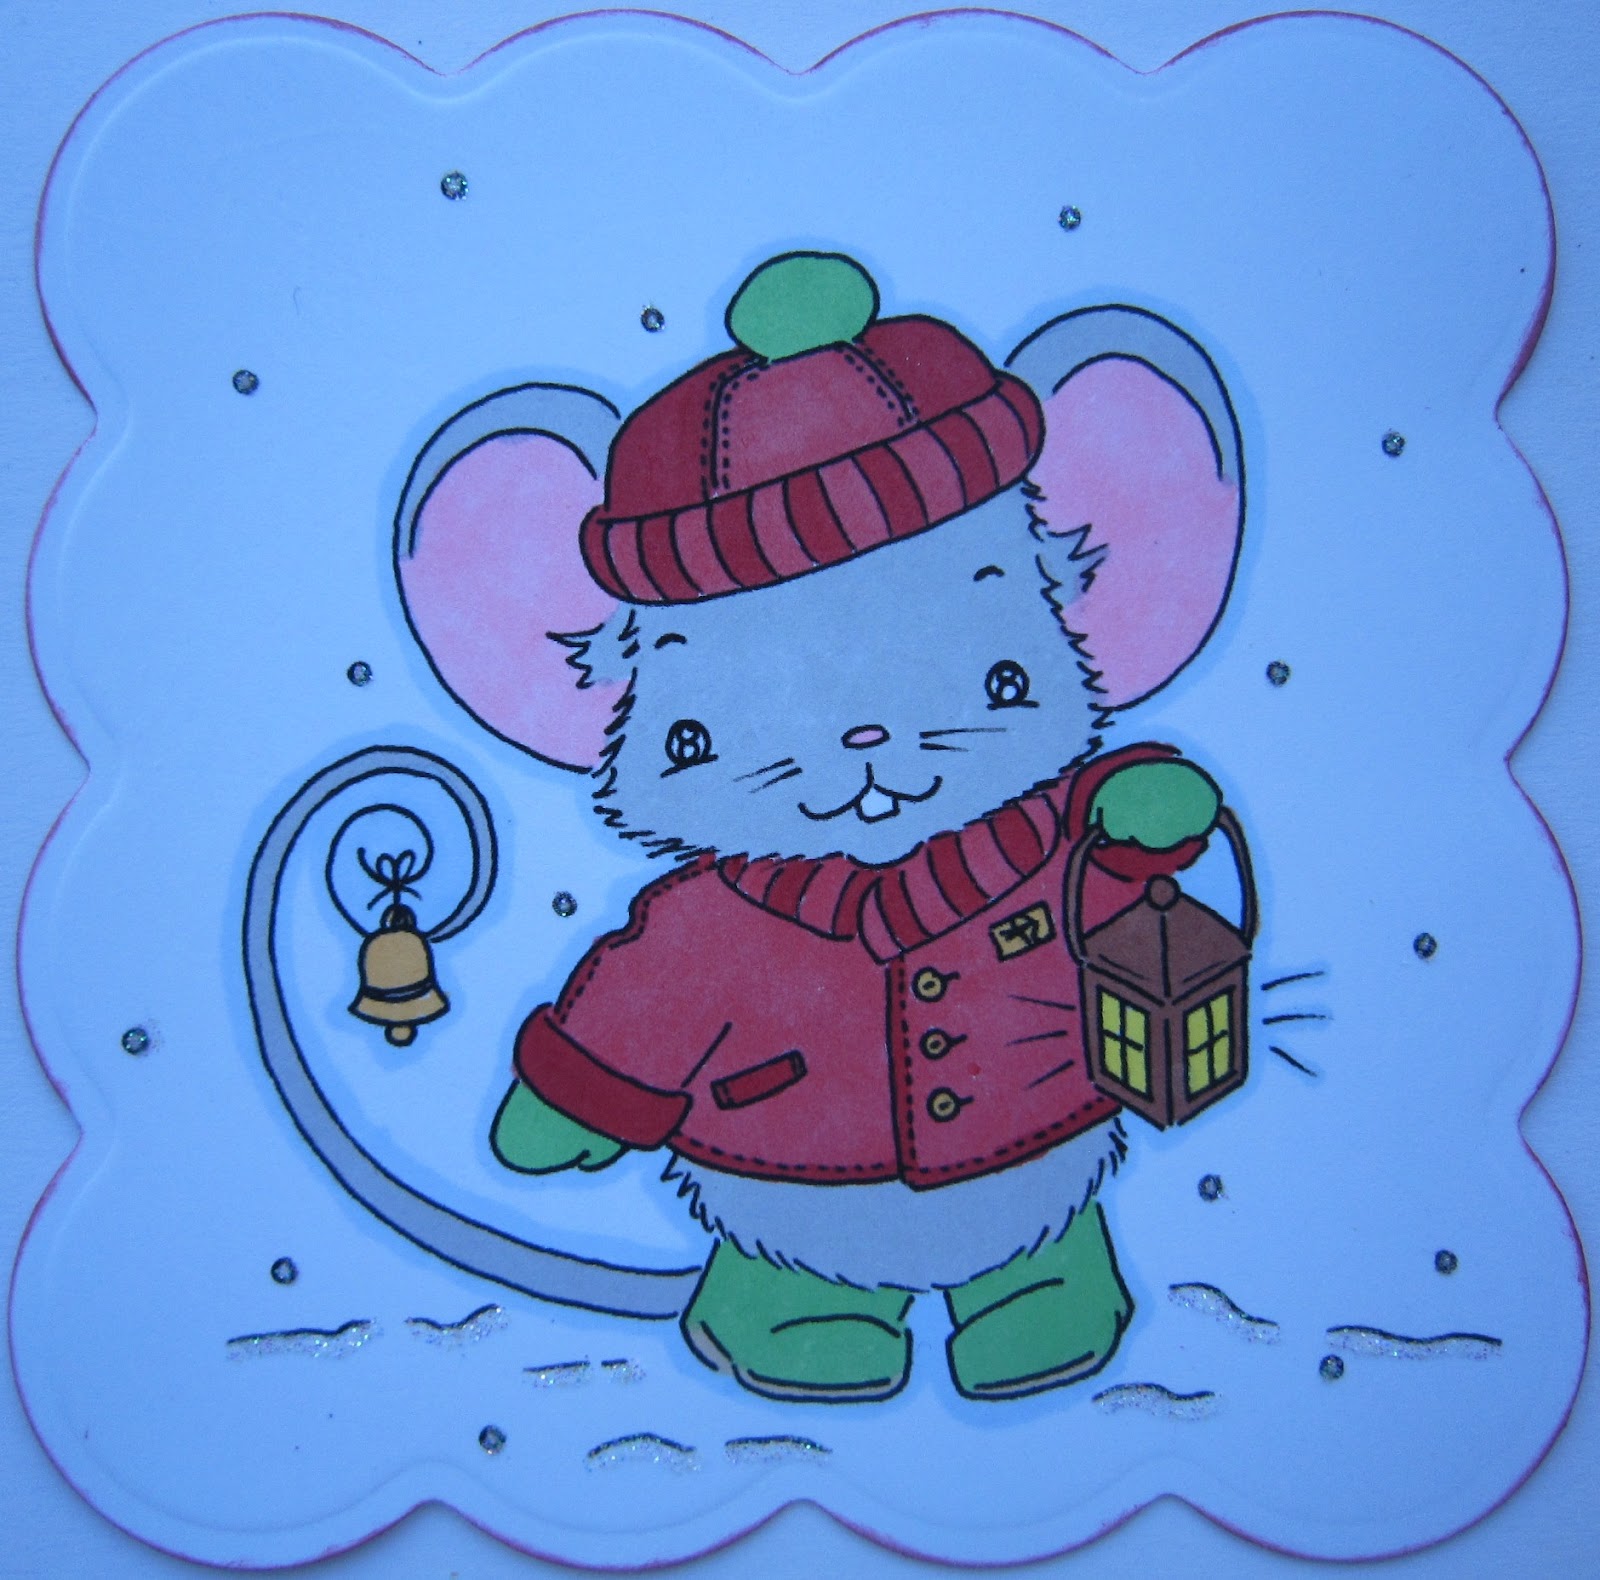
Mouseeey Seasons Greetings

Hey, made this card today; after a hectic week at uni it was nice to do some craft :)

I coloured this little cutie using promarkers to fit the Crimbo Crackers colour combo challenge. I used glamour dust for the snow. I cut and embossed him using the Spellbinders Nestabilities Big Scalloped Squares set. I then edged the image using Brilliance pearlescent poppy ink.

I used the sketch challenge from Christmas Card Challenges for the layout of my card. I chose two papers, red and beige, for the backing of my card; I also edged my card with poppy ink. I then chose a red snowflake paper for the length of the card and edged this using brown card. For the width of the card, I chose a brown and white snowflake paper and edged this with copper card. I attached these on along with the image and added embellishments to finish.

I used a 'Seasons Greetings' sentiment from mums stash (hehe thanks!) and also a brown bow. I used the Spellbinders Shapeabilities create a flake one set to create the snowflakes. I embossed these using Stamp-n Stuff red dragon, Heat It Up gold, Allnight Media satin pearl and Ranger copper powders. I raised these up to add extra dimension. To finish, I used brown and red gems in the centres of the snowflakes and on the bottom of the card.

I would like to enter this card in the following challenges: -
christmas card challenges - sketch
crimbo crackers - colour theme
52 christmas card throwdown - embossing
abc christmas challenge - j is for jingle bells
house of gilli - die cuts/punches
sassy cheryls challenge - whats your colour
aud sentiments - any sentiment
charisma cardz - no flowers allowed
karens doodles netherlands challenge - white plus two colours

Monday, 21 May 2012

British Special Day

Hey, made this card today...love the new Olympic things :) And love the coin I found in my stash! (yes mine not mums!)

I coloured this Penny Black image with promarkers and copics pens. I cut it into a Go Kreate's rectangular frame Frilly #1 and edged it with blue ink. I cut a backing paper from the Forever Friends Best of British Designstax for the base of the card. I also edged the edge of the base card with blue ink. I stuck the image to one side and a sentiment on the other. I backed the 'On Your Special Day' sentiment with red card and raised it with foam tape. I used red ribbon with white lace on top across the bottom of the card and attached round silver and heart red gems alternately. I then embellished the card with a red bow on the image. I embossed an arrow with Cosmic Shimmer Tropic Aqua Blaze embossing powder and attached that under the bottom of the sentiment. To finish, I stuck on a coin and two buttons from the Papermanic Portobello Road WW1 mini buttons set.
I would like to enter this challenge in the following challenges: -

Saturday, 19 May 2012

Happy Birthday Dragon

Hey, already had this little cutie coloured so decided to make him up to fit the My Crafty Creations challenge using green and purple.


I used a free digi image from a magazine and coloured it using promarkers. I then edged him using Brilliance pearlescent purple ink and backed him onto green. I cut a backing mount for him from holographic purple card and using go Kreate's retangular frame Frilly #1.


I then cut my backing from green paper and edged this using Momento grape jelly ink. I embossed a Tim Holtz Alterations Elegant Flourish using Heat It Up purple and lilac embossing powders and used this to imitate fire in the top corner of the card. I stuck the image to the bottom right corner of the card.


For embelishments, I used lilac ribbon with a green ribbon slide diaganally across the corners of the card. I then added the sentiments Happy Birthday in one corner and May Your Wishes Come True in the other. I added a green balloon brad to the corner of the image. Finally, I added green beads to a purple heart Hobbyhouse pin and inserted this under the image along with a green bow. Very cute :)


I would like to enter this card in the following challenges: -
craft your passion - colour combo
alota rubber stamps - tic tac toe
bearly mine challenges - dies
cute card thursday - touch of sparkle
joanna sheen challenge - happy birthday
the paper shelter - birthday cards with a sentiment

Wednesday, 16 May 2012

Let It Snow Man!

Hey had time to make a Christmas card earlier today before uni got to work now so gonna post this quickly!!! :)

Firstly, I coloured the snowman image with promarkers and used glamour dust for the snowman's body. I cut the image into an oval shape and edged the oval with red copics pen.

I then cut a green snowman backing paper to match the image and edged it with Brilliance galaxy gold ink. I used gold ribbon down the side of the card and stuck red and white mini buttons on top. At the bottom a used a gold, red and silver christmas tree plaque to match with the traditional colour scheme. I raised the image with foam tape and attached a Christmas tree brad in the top corner. To finish, I used a red and silver oval with the sentiment 'Dreaming of a white Christmas'. Another simple card but it's a cute image.

I would like to enter this card in the following challenges: -
christmas blog challenge - frosty snowman
crafty hazelnuts christmas challenge - traditional christmas-
phindys place challenge - christmas in may
sparkles forum christmas challenge - christmas tree

Monday, 14 May 2012

Music

Hey, back at uni now so less time to craft :( Did get time today to make this card though...no particular theme but will use it to write to Granny and Grandad with :)

Quite a quick project but it looks pretty. I started with the plaque I have used for the main backing, then backed it with orange card. I edged the orange with Brilliance jumbo java ink and edged the backing card with Brilliance mango madness ink. I then used Musical Notes Adhesive Ribbons across the bottom of the card.
To embellish the card, I used a yellow flower with a card candy centre in the top corner, and three card candy in the bottom corner. I then placed three flowers to the edge of the card with another card candy in the centre. To finish, I used a Heart Hobby House pin with clear beads on and a metal violin charm.

I would like to enter this card in the following challenges: -
drs designs blog - music for soul
the sister hood of crafters - may flowers
crafty ribbons challenge - flowers

Sunday, 13 May 2012

25th Wedding Anniversary

Hey, made this card for my aunty and uncle; hope they like it!!! Really enjoyed making this card :)
I started by choosing three pieces of card to use for the book and the stand. I used an easel book template from www.houseofzandra.co.uk. I cut out the pieces and stuck the pages together, raising the edges of the smallest page with foam tape. I then stamped 'Mr & Mrs' from the Forever Friends Going to the Chapel clear stamp set and embossed it with detail clear embossing powder. I stamped and edged this with Versamagic turquoise gem ink. I used another plaque the same size and stamped 'date' and 'event' using Studio G clear stamps. I then filled in the details using peel offs. I then used Tim Coffey die cut stickers to put 'Wesley' across the bottom of the page.
I then attatched the pages to the stand and added a peel off across the top of the largest page and the bottom of the stand. I added a 'Congratulations' sentiment edged with silver card and raised with foam tape to act as a stopper for the pages to stand against. I then added two metal heart embellishments and a flower to the stand base. To finish, I used Hobby House pins with small silver beads, turquoise and white flowers and silver leaves to make the card extra fancy. Very pleased with the result and a fun project to complete :)
I would like to enter this card in the following challenges: -

Friday, 11 May 2012

New Baby

Hey, made this card today as we are expecting a baby in our family!!! It's going to be a girl and thought I'd better make the card as she is already 2 days overdue...can't wait :) :) :)
I stamped the Forever Friends image at a friend's house and coloured it using promarkers. I edged the image with Vivid raspberry ink.
I chose a pale pink paper to back the card and edged this in raspberry too. I chose pink and yellow papers to back the image with. I then stamped 'Congratulations' and 'New baby' onto white paper and backed them with pink spotty paper. I then put 'Congratulations' onto the bottom of the image and put 'New baby' across the top corner. I chose pink and yellow flowers to match the colour scheme and added small buttons in the centres. To finish, I cut two Tim Holtz Alterations Elegant Flourishes and inked them with Brilliance pearl orchid and sunflower yellow inks; I raised these up edging them onto the image. Lovely :) ...now she needs to arrive!!!!

I would like to enter this card into the following challenges: -
everybody art challenge - baby
belli challenge - baby new arrival
scrapbook sisters - off centre
crafts and me challenges - punches and die cuts
marks finest papers - use 3 of something
the squirrel and the fox - one for girls